Running Your First Simulation
This quick-start guide walks you through creating your first simulation in SunSolve Yield. In just a few minutes, you’ll configure a bifacial single-axis tracker in Sydney using example weather data.
Open SunSolve Yield
Section titled “Open SunSolve Yield”You’ll begin by accessing the online interface. No installation is required but a user account is required.
Step 1. Navigate to https://www.pvlighthouse.com.au/sunsolve-yield.
 Step 2. Log in with your username (email address) and password.
Select a system type
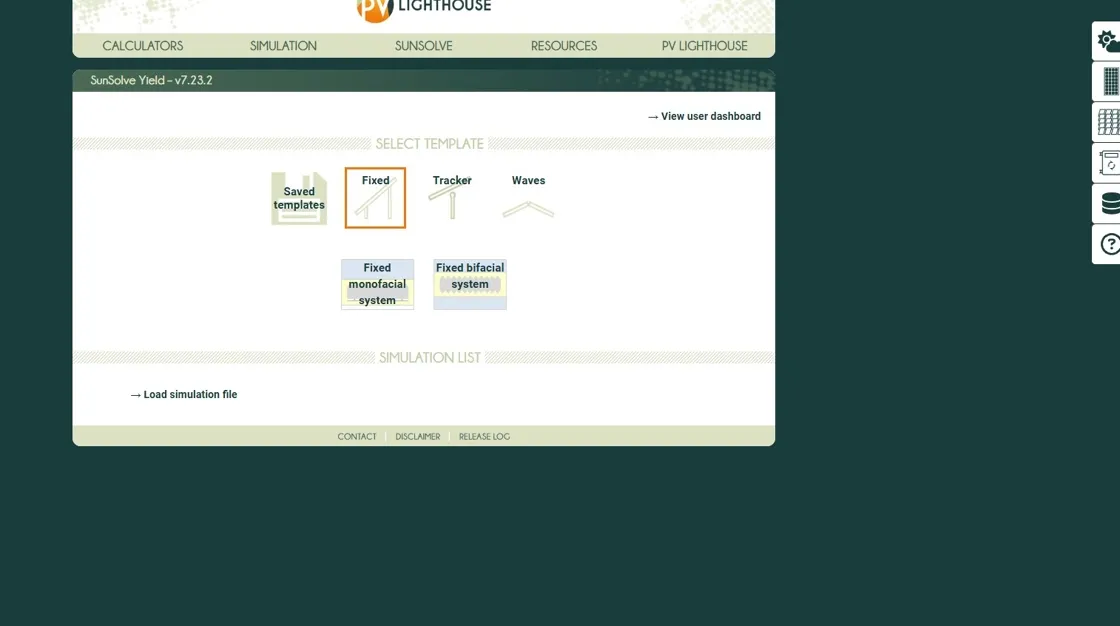
Section titled “Select a system type”SunSolve offers several predefined workflows for common system configurations. Here, you’ll start with a single-axis tracker setup.
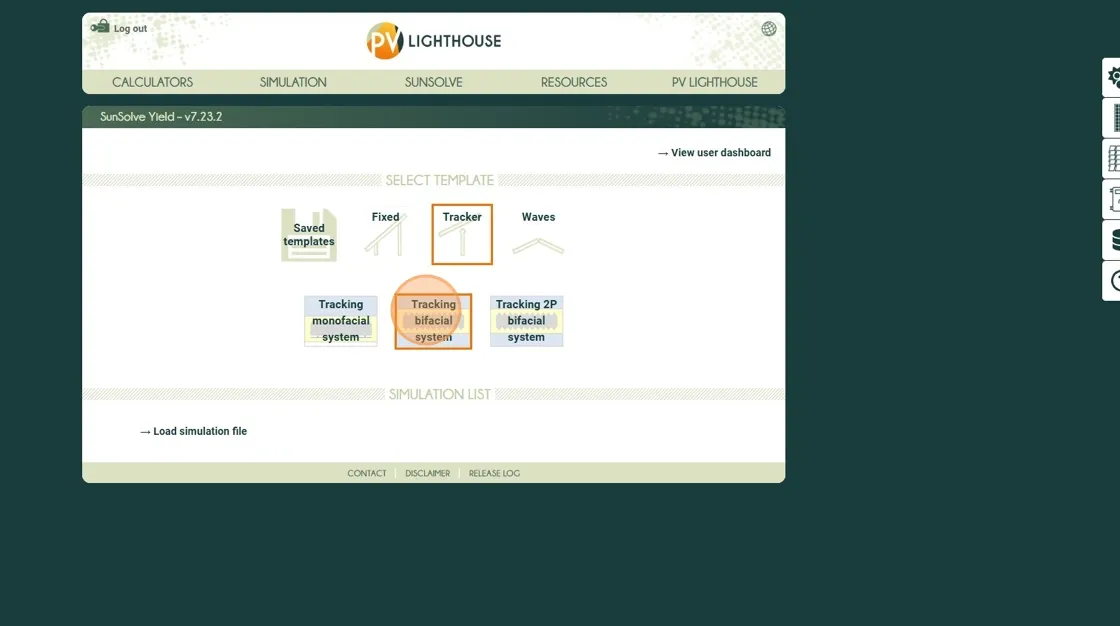
Step 3. On the landing page, choose Tracker.
Step 4. Then select Tracking bifacial system to create a new project with typical defaults for this configuration.
Open the new project
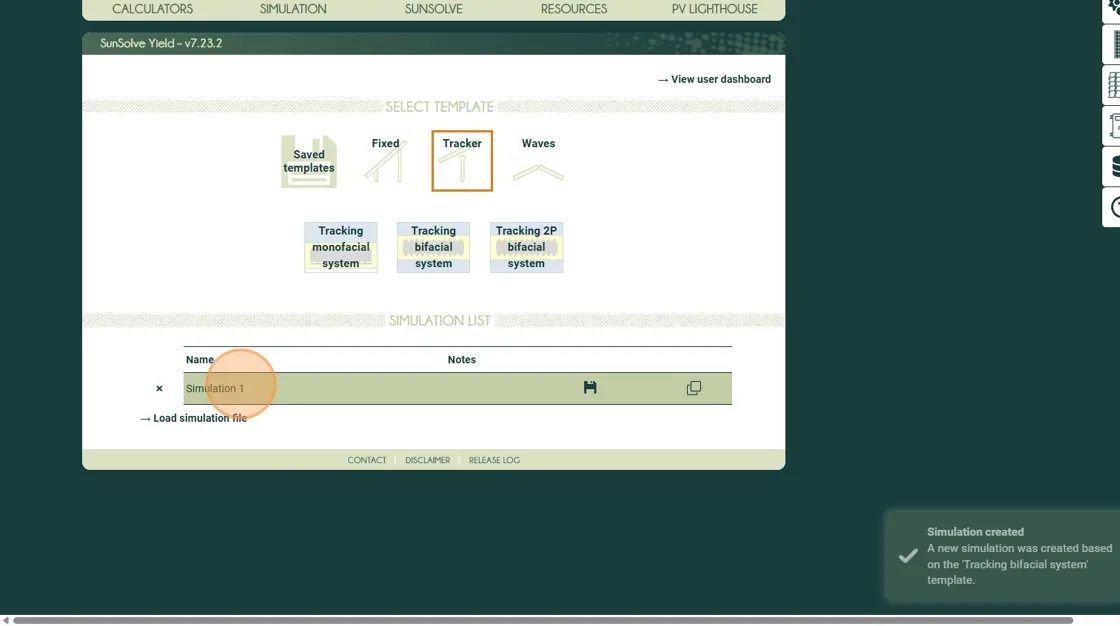
Section titled “Open the new project”Your project now appears in the list of available simulations.
Step 5. Click the entry named Simulation 1 to open it.
Set the project location
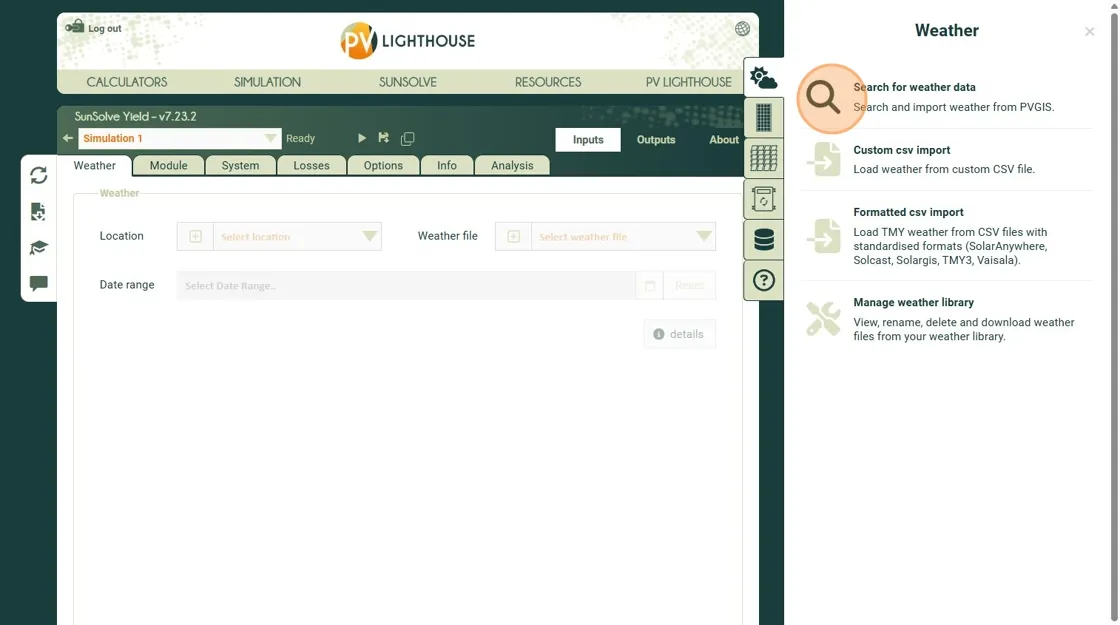
Section titled “Set the project location”The location defines the solar geometry and determines which weather data sources are available. For this example we will create a new location and load the weather from the free PVGIS source.
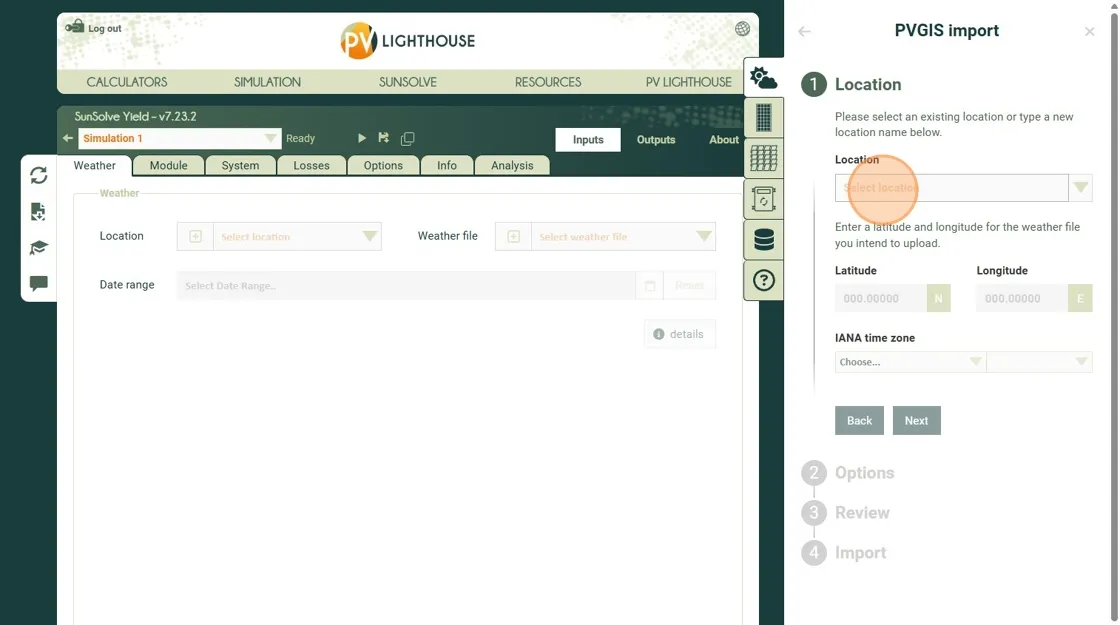
Step 6. Open the weather panel by clicking on the sun and cloud icon on the far right side of the screen.

Step 7. Select the option that will load weather from PVGIS
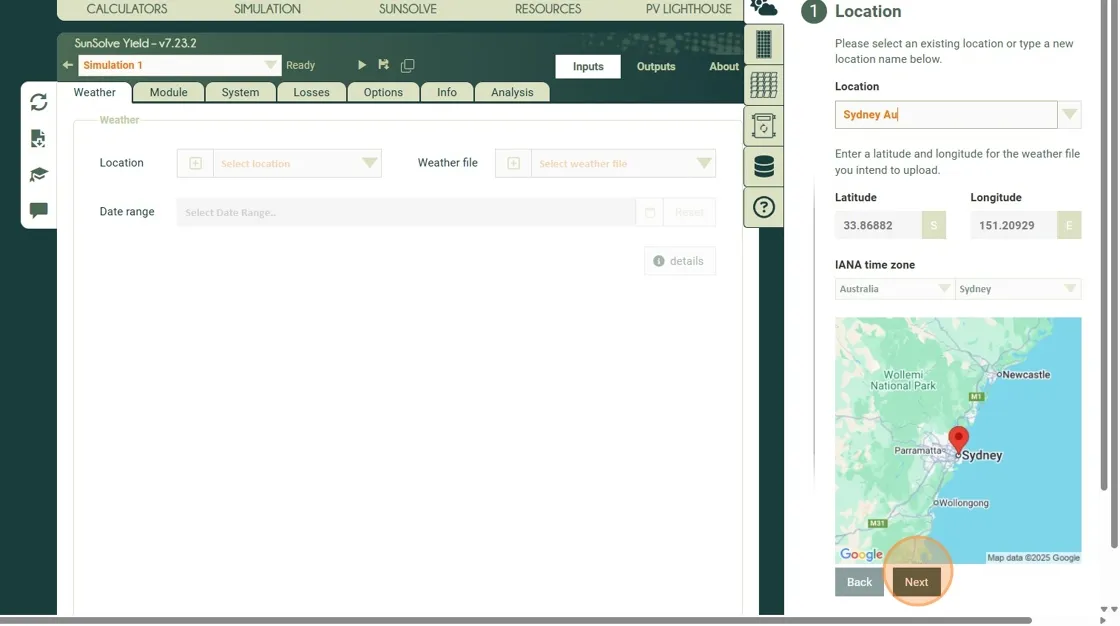
Step 8. In the search field, type Sydney and select the suggested result (press Tab).
Continue to load the weather
Section titled “Continue to load the weather”Step 9. Click Next to move through the configuration panels. Keep the defaults for this tutorial.
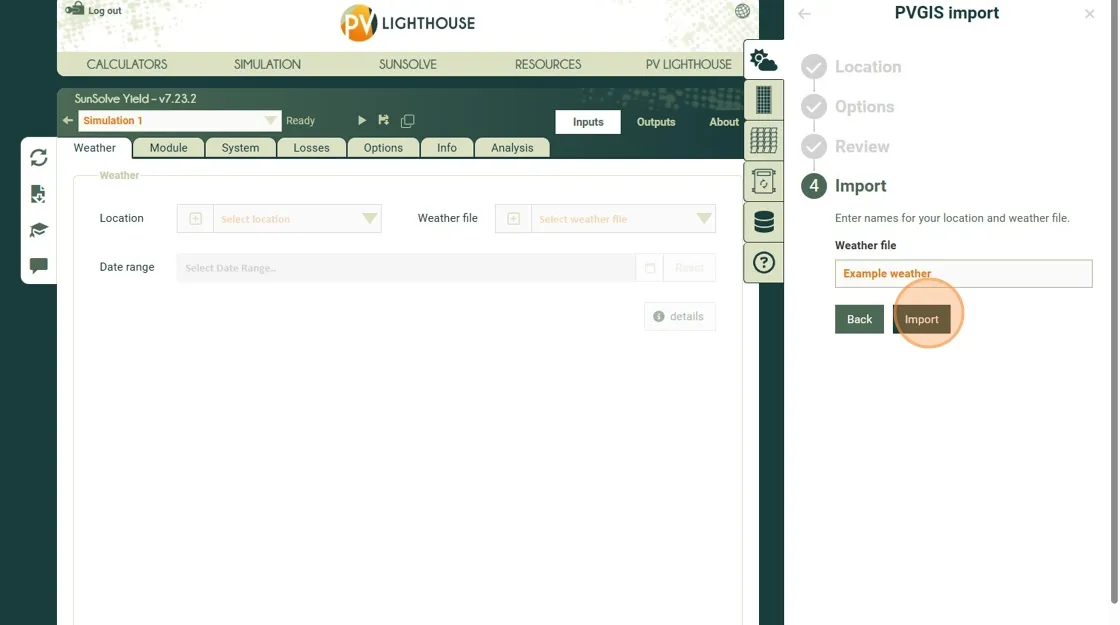
Step 10. Enter a name to use for this specific weather dataset and click Import.
Step 11. Close the weather loader
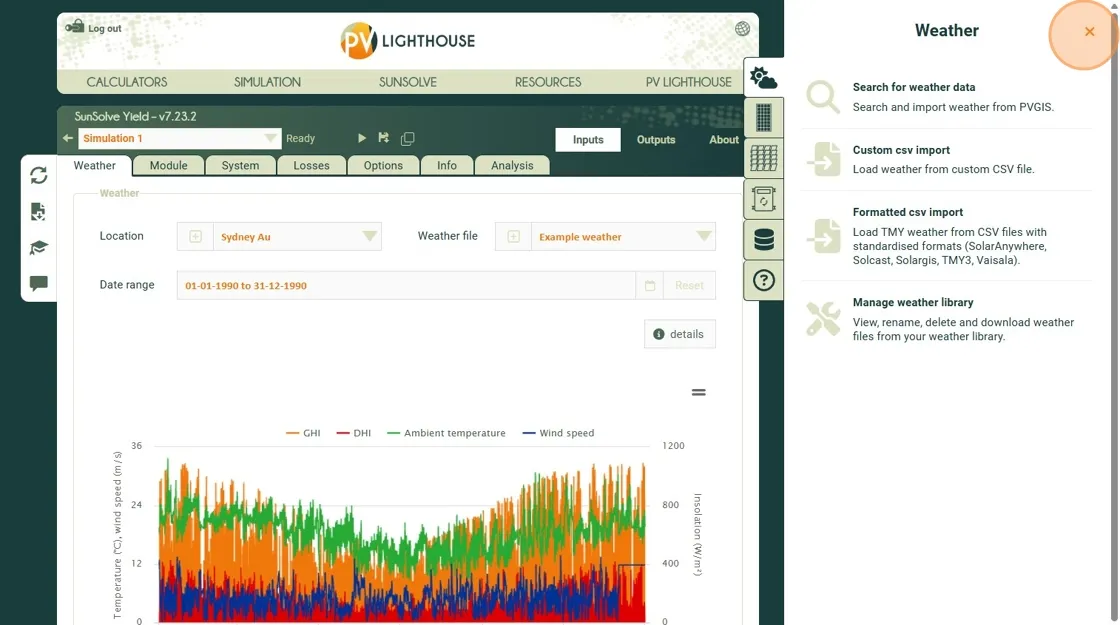
This process has added the site and weather data to your user account. Now it will be available for selection on the Inputs Weather panel in all future SunSolve sessions.
Review and Run
Section titled “Review and Run”Before running, confirm that the weather panel lists your chosen location and defaults. You can also check the module, system and options inputs, although in this example we will not adjust those.
Step 12. Click Run to start the simulation.

The simulation has now been sent to the SunSolve servers for solving. You will see the status of the solving updated at the top. Initially the optical solver runs, this is followed by the electrical solver.
Once completed the status will say “Done” and the outputs will be available to view and download.
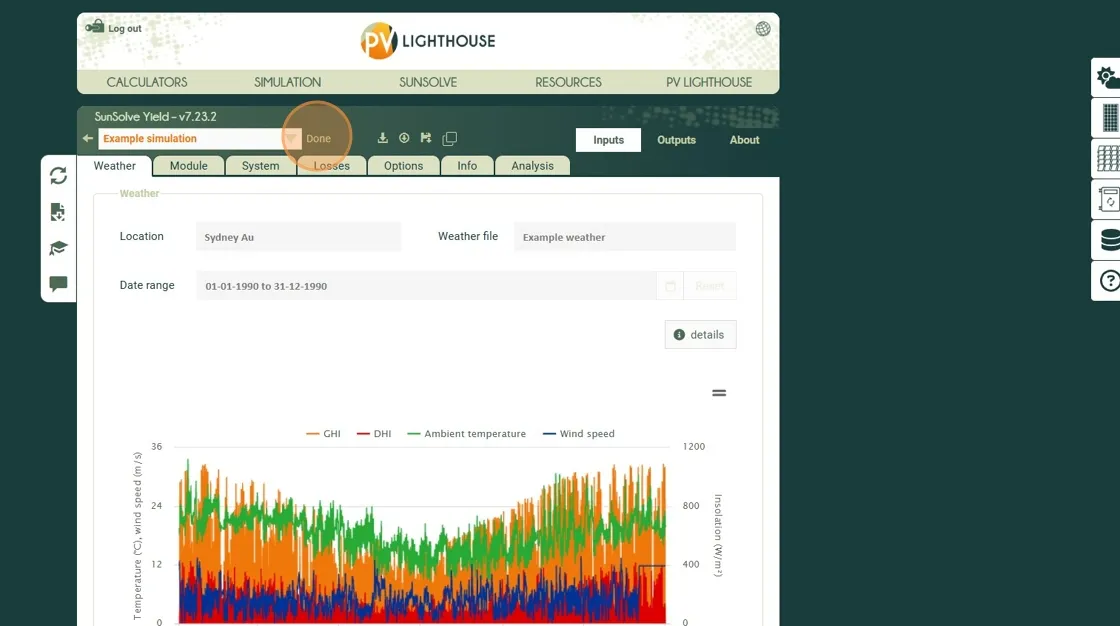
Result
Section titled “Result”You now have a baseline bifacial tracking simulation located in Sydney with example weather data and default parameters.
In the next tutorial we will look at the results.